How to stream on Twitch: the ultimate guide
You can’t have a conversation about live streaming without mentioning Twitch. The platform that came into being as an offshoot of the live streaming progenitor Justin TV is an unavoidable part of the digital ecosystem. It doesn’t matter that it’s a gaming-first platform — learning how to stream on Twitch is still a common introduction to the world of broadcasting live online.
It makes sense for Twitch to hold that place, too. In 2019, Twitch’s share of the live streaming platform market was 73 percent according to hours watched. That might be down two percent from last year in terms of market share, but it’s up 20 percent in terms of hours watched.
Twitch hasn’t lost any of its vitality even though 2019 was marked by a couple of high-profile transfers to competing platforms. The platform is as much the leader of the pack as it’s ever been, even with YouTube, Facebook, and Mixer slowly catching up. It’s the place to be — and we can help you not only learn how to stream on Twitch but also how to thrive on the platform.
Preparing to stream to Twitch
The best parts of Twitch are hidden behind the requirement to have an account. If you want to interact with content, you’ll need to create an account. The same goes for joining the ranks of content creators. So that’s where we’ll start. After that, we’ll cover the software, the gear, and the very process of streaming.

How to create a Twitch account for live streaming
Setting up an account is straightforward. Even though Twitch has an extra step for those who want to live stream on the platform, it only brings the total number of steps to three.
1. Make sure you’ve studied the community guidelines.
It might be best to simply read through the whole legal section of Twitch’s website. But at the very least, you should read the community guidelines even before you’ve actually made the account. Bookmark the page, too, because the guidelines get occasional updates.
2. Create an account.
On a desktop computer, it’s as easy as clicking the “sign up” button and filling out the form.
On mobile devices, you need to download the Twitch mobile app. Twitch recommends signing up with your phone number initially and adding an email later.
3. Enable two-factor authentication.
Here’s the kicker: you can’t actually broadcast without enabling 2FA, and you can’t enable 2FA on mobile devices. So, head on over to a desktop computer, log into your account, find the security settings, and enable 2FA. You’ll need a mobile phone to do it.

Which software to use for live streaming on Twitch?
When broadcasting on Twitch from a desktop computer, the consensus is that beginners should start with software encoders unless they have hardware encoders available. There are plenty of reasons for it, but they really boil down to ease of use and affordability.
Every software encoder comes with its own sets of pros and cons. You should take a closer look at them when choosing. If you’re interested in some of the more popular options, they are:
- OBS Studio — The top choice for many novice content creators, OBS Studio is a free, open-source streaming software with cross-platform compatibility.
- Streamlabs OBS — The Streamlabs version of OBS has some great features that might help you monetize your channel. It’s only available on Windows, though.
- XSplit — A common solution for broadcasters who want to try out paid software, it only shines if you’re willing to invest in the paid version.
- vMix — Consider this option when you decide you’re ready to become a pro streamer.
You might want to keep a close eye on Twitch Studio, Twitch’s proprietary streaming software that’s currently in open beta. For even more options, you should also check out Twitch’s streaming software suggestions.
If you want to broadcast to other platforms besides Twitch simultaneously, you’ll need to enlist an additional software solution to your roster.
Restream, the multistreaming software that integrates broadcasting, chat, and analytics, can help you out. It’s easy to set up, it starts off with a free plan, and it can be a valuable ally even if you become a Twitch Affiliate and are subject to the platform’s exclusivity clause.

What type of hardware to use when broadcasting on Twitch?
You don’t need the latest generation of CPUs or the newest model DSLR to broadcast on Twitch. The platform isn’t on the leading edge of video quality — it doesn’t support 4K streaming as YouTube does — so you could conceivably get away with lower-quality gear.
However, the one obstacle many Twitch content creators face is that, when broadcasting a video game, encoding and gaming can be too much of a burden for a computer’s CPU. So you can’t just start streaming on Twitch with any kind of gear — it needs to be decent. Let’s go through it one item at a time.

A computer/console/smartphone
The central part of hardware in any streaming setup is the computer, the console, or the smartphone, depending on what you’re using. Gaming consoles such as the PlayStation 4 and Xbox One are viable options, as are smartphones. They also provide an easy entry into the world of streaming, because you don’t need to think too much about software and additional hardware.
However, desktop computers didn’t become the most popular choice for streaming by chance. You can use a wider variety of hardware with them, and broadcasting software allows for cool features such as creating scenes and using overlays. In fact, desktop computers are so useful that even people who broadcast from consoles often use the consoles for gaming while they broadcast from a PC.
PCs are pretty much unavoidable for high-end streaming, but they’ll also give you the most options when you’re just getting your feet wet. Here’s what you should consider when building a streaming desktop computer:
- The CPU: It needs to handle simultaneous gaming and encoding. You’ll need a fairly strong CPU.
- The GPU: An Nvidia RTX graphics card has built-in hardware encoders, and you can use it with OBS Studio to lend the CPU a hand.
- Platform: You can use a PC but also a Mac or even a laptop. You’ll need a good one if you want to use it for gaming and broadcasting, though.
- Computer setup: You can use one computer for gaming and the other for encoding and streaming. The one with a stronger CPU should be in charge of encoding.
Overall, you can start streaming with an i5 processor, 8 GB of RAM, and a solid internet connection. However, the more you want from your content, the more you’ll need to invest in the basic gear. The same rule applies to all other gear you’ll use for broadcasting, too, as you’ll see in a moment.

A microphone and a camera
Unless you’re an elite gamer who can attract and hold an audience simply by playing games unbelievably well, you’ll need to offer something more to keep your viewers engaged. Audio commentary is the very least you can do — it lets you show some personality and communicate with your audience. It beats answering questions by typing in the chat window, that’s for sure.
Microphones are always a good investment for streamers because the audio quality is very important. You want people to be able to hear you clearly and understand what you say, at the very least. It’s possible to get away with a gaming headset’s built-in microphone for a while, but it would be best to opt for a standalone one right away. From the lowest to highest priced, some popular choices are:
- Zalman ZM-Mic1
- Maono AU-04 USB Microphone Kit
- Blue Yeti Nano
- Samson G-Track Pro
- Blue Yeti X
Now, if you think you should add facial expressions and other forms of non-verbal cues to your roster of communication tools, you’ll want to invest in a camera, too. You can get pretty good results with webcams, and they don’t require a capture card. Here are some popular choices:
- Logitech HD Pro C920
- Microsoft LifeCam HD-3000
- Logitech C922 Pro Stream
- Razer Kiyo
- Logitech Brio 4K
Choosing the least expensive options for each will set you back around $100 in total, but it will ensure that your Twitch viewers can hear and see you well. For a basic setup, that’s everything you’ll need.

Additional streaming gear
The basic setup will only get you so far before the lack of production value starts holding you back. Whether you want to add another computer to your setup or you just want to look better on camera, you’ll need to pick up some additional gear.
Here is some of the gear you might want to consider as the subs start rolling in:
- Lighting — Since you’re already streaming with a camera, why not use some flattering light that also makes you easier to be seen? A couple of softboxes with LEDs will provide a gentle lighting without cooking you alive in the process, thanks to the LEDs’ low heat production.
- Green screen — Whether you want to add or remove your background, a green screen can come in very handy. Best of all, most encoders will recognize it, so learning how to use chroma keying in your streams is easy.
- Game capture card — If you want a two-computer setup, or if you want to stream console games via a computer, you’ll need a game capture card. You have two options: external and internal. It might be tough to find a game capture card below the price of $150, though.
- Stream deck — Basically a touchscreen that lets you trigger commands with a brush of your finger, a stream deck is a handy tool if you have a lot of scenes you want to switch during the broadcast or if you want a simpler way to do things such as adjusting audio levels.
As you become a more experienced Twitch content producer, you’ll start figuring out which additional gear you need and which serves only to burn a hole in your pocket. A good way of thinking about gear upgrades is to be guided by cost-effectiveness. Always look to get the biggest bang for the buck you can afford to spend.
How to live stream to Twitch from a desktop computer
One of the drivers behind the boom of live streaming — on the consumer and creator ends alike — is the content form’s accessibility. All it takes is an internet connection and a device with a screen to watch live streams. The fact that there is a huge number of people with access to both bodes well for your broadcasting career.
As far as becoming a content creator, however, the bar might be set a bit higher, especially if you want to be successful. But it takes a little more than a decent streaming rig and willingness to get your feet wet. Here are the very basics steps to start streaming on a desktop computer.
1. Have an idea about the content you want to stream.
With the times when it was only a video game streaming platform behind us, Twitch is now home to many different types of content. We’ll get into all the great things you can live stream a bit later, but for now, you should understand that different types of content might require you to use different gear.
This isn’t the only reason to go in with a content plan, and we’ll get into that more a bit later, but it makes sense to point it out because of practical implications.
For example, creating good ASMR content requires high-quality microphones at the very least or even specialized gear such as the 3Dio Free Space binaural microphone. That type of gear might not be readily available in your local store, and if it is, it might come with a hefty price tag. That’s something you should plan for.
2. Gather, connect, and set up your gear.
As a novice broadcaster, it might make perfect sense to use the minimum gear required for a stream. It’s possible to cast whatever’s on your screen, so you don’t need a webcam. You can try to chat with your audience via text chat, so you don’t even need a microphone.
Usually, however, you’ll find that you should really use both.
Before you start setting up your streaming software, make sure all the hardware you need is connected. This means connecting your webcam and microphone to your computer. If you plan to add an additional computer monitor to your setup or want to use a green screen, now’s the time to get it ready.
3. Install the software and connect it to Twitch.
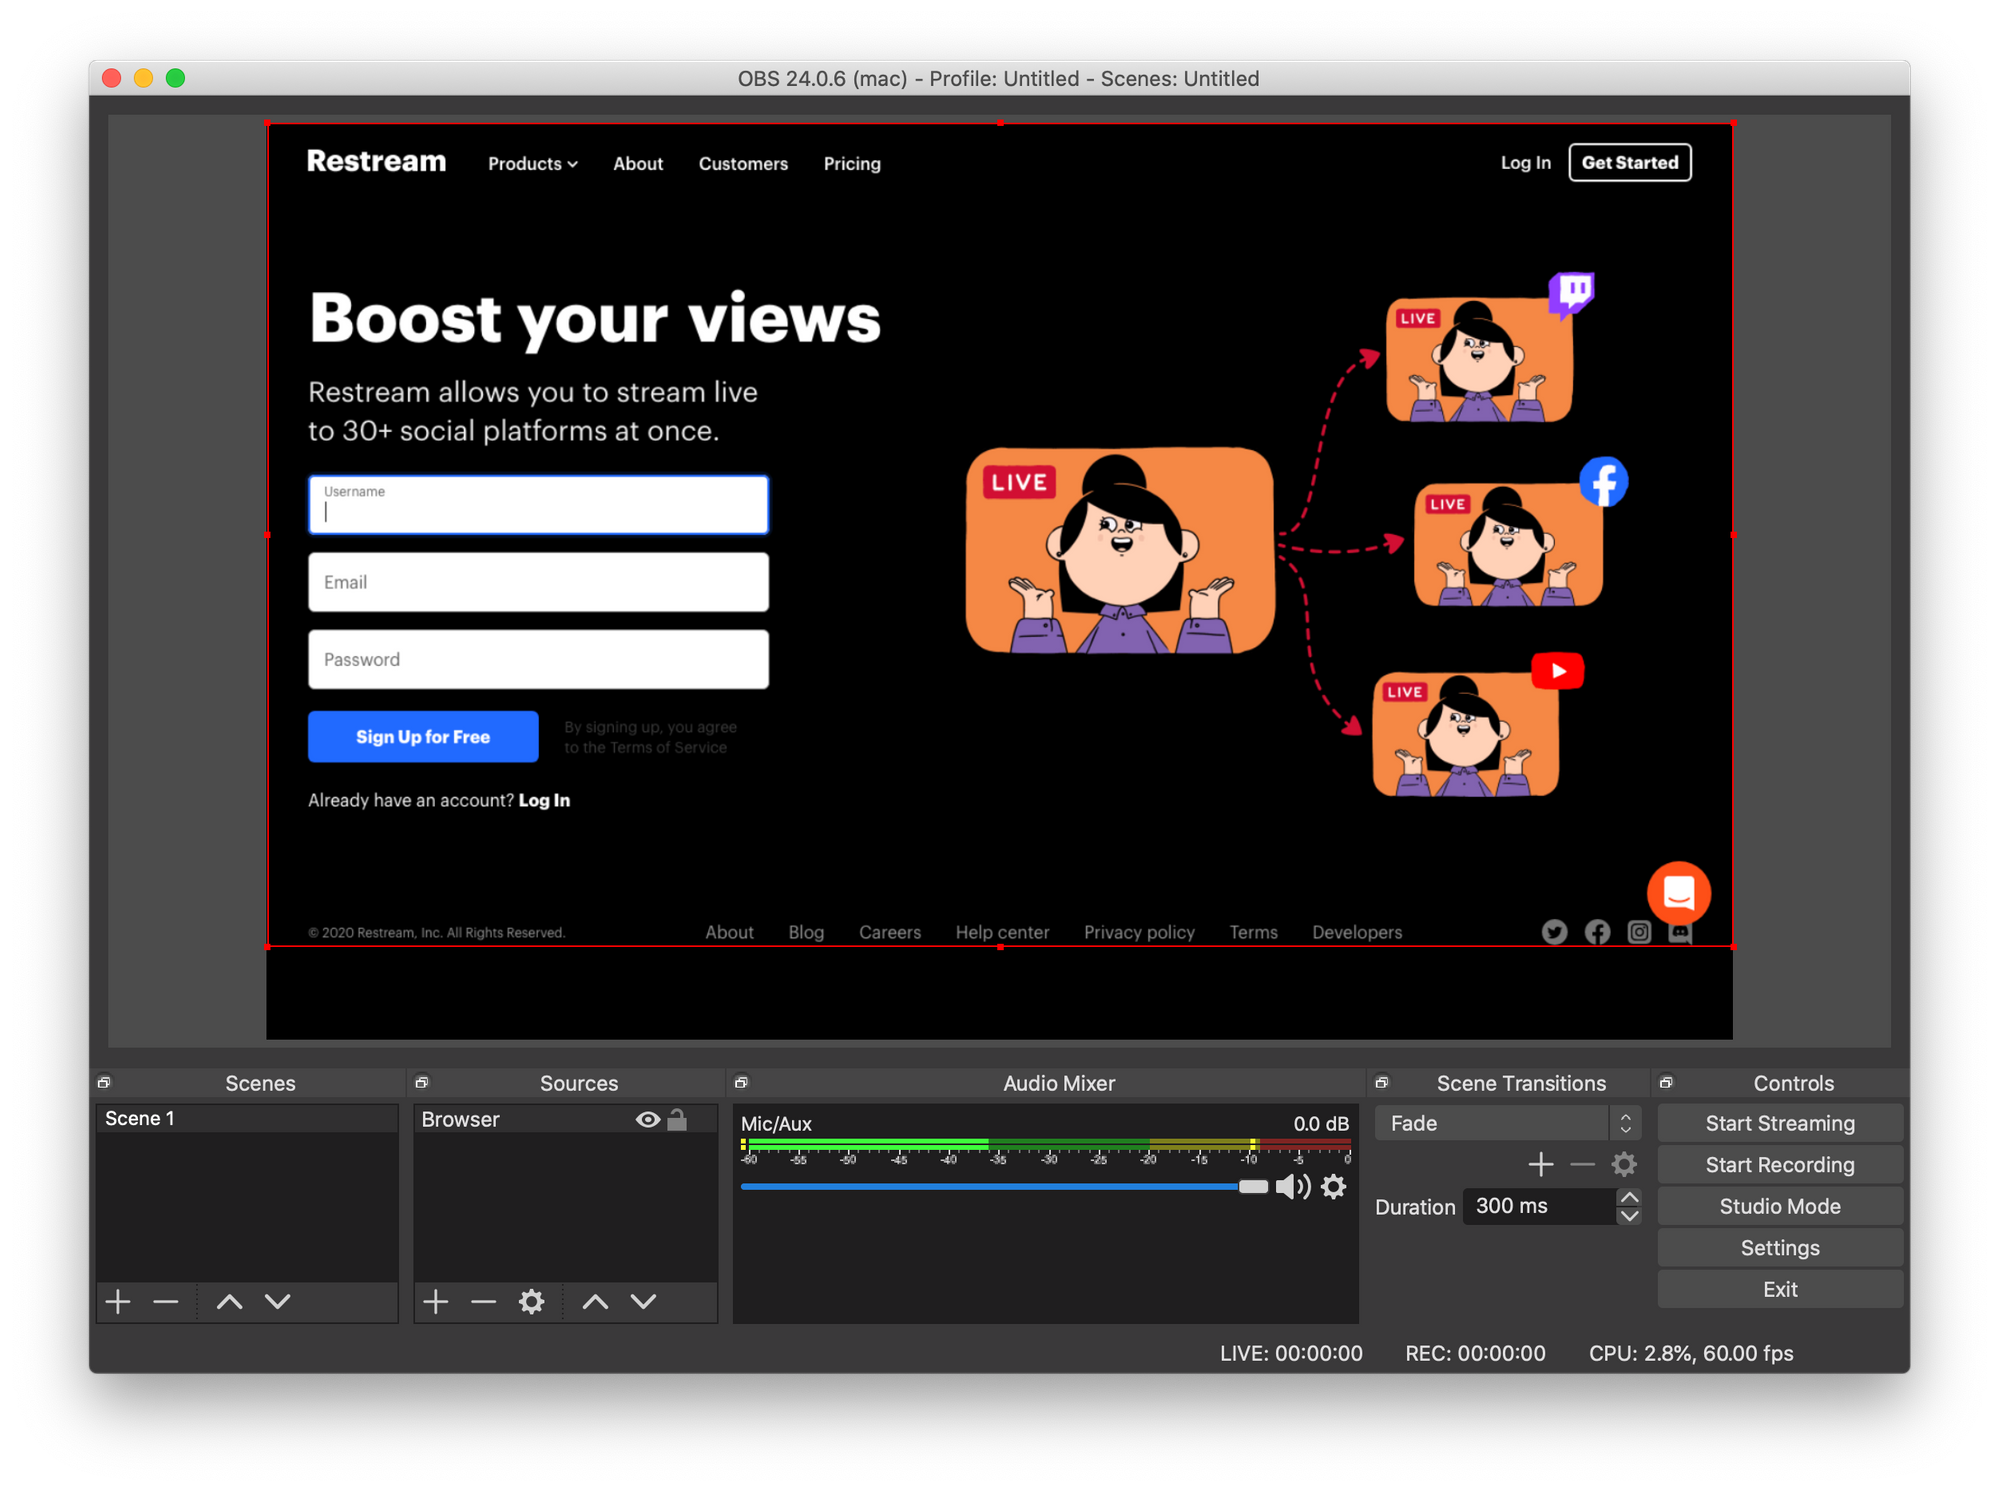
Any one of the software choices we mentioned earlier will work great for Twitch. For the purposes of this guide, however, we’ll use the OBS Studio for all examples and explanations. After installation, OBS Studio will ask whether or not to run the auto-configuration wizard. You might consider opting for a manual setup. That will get you acquainted with some important aspects of streaming.
For starters, you’ll want to head to File > Settings > Stream in OBS Studio. Choose “Twitch” as your service, then either connect your Twitch account to OBS Studio or connect Twitch using the stream key.
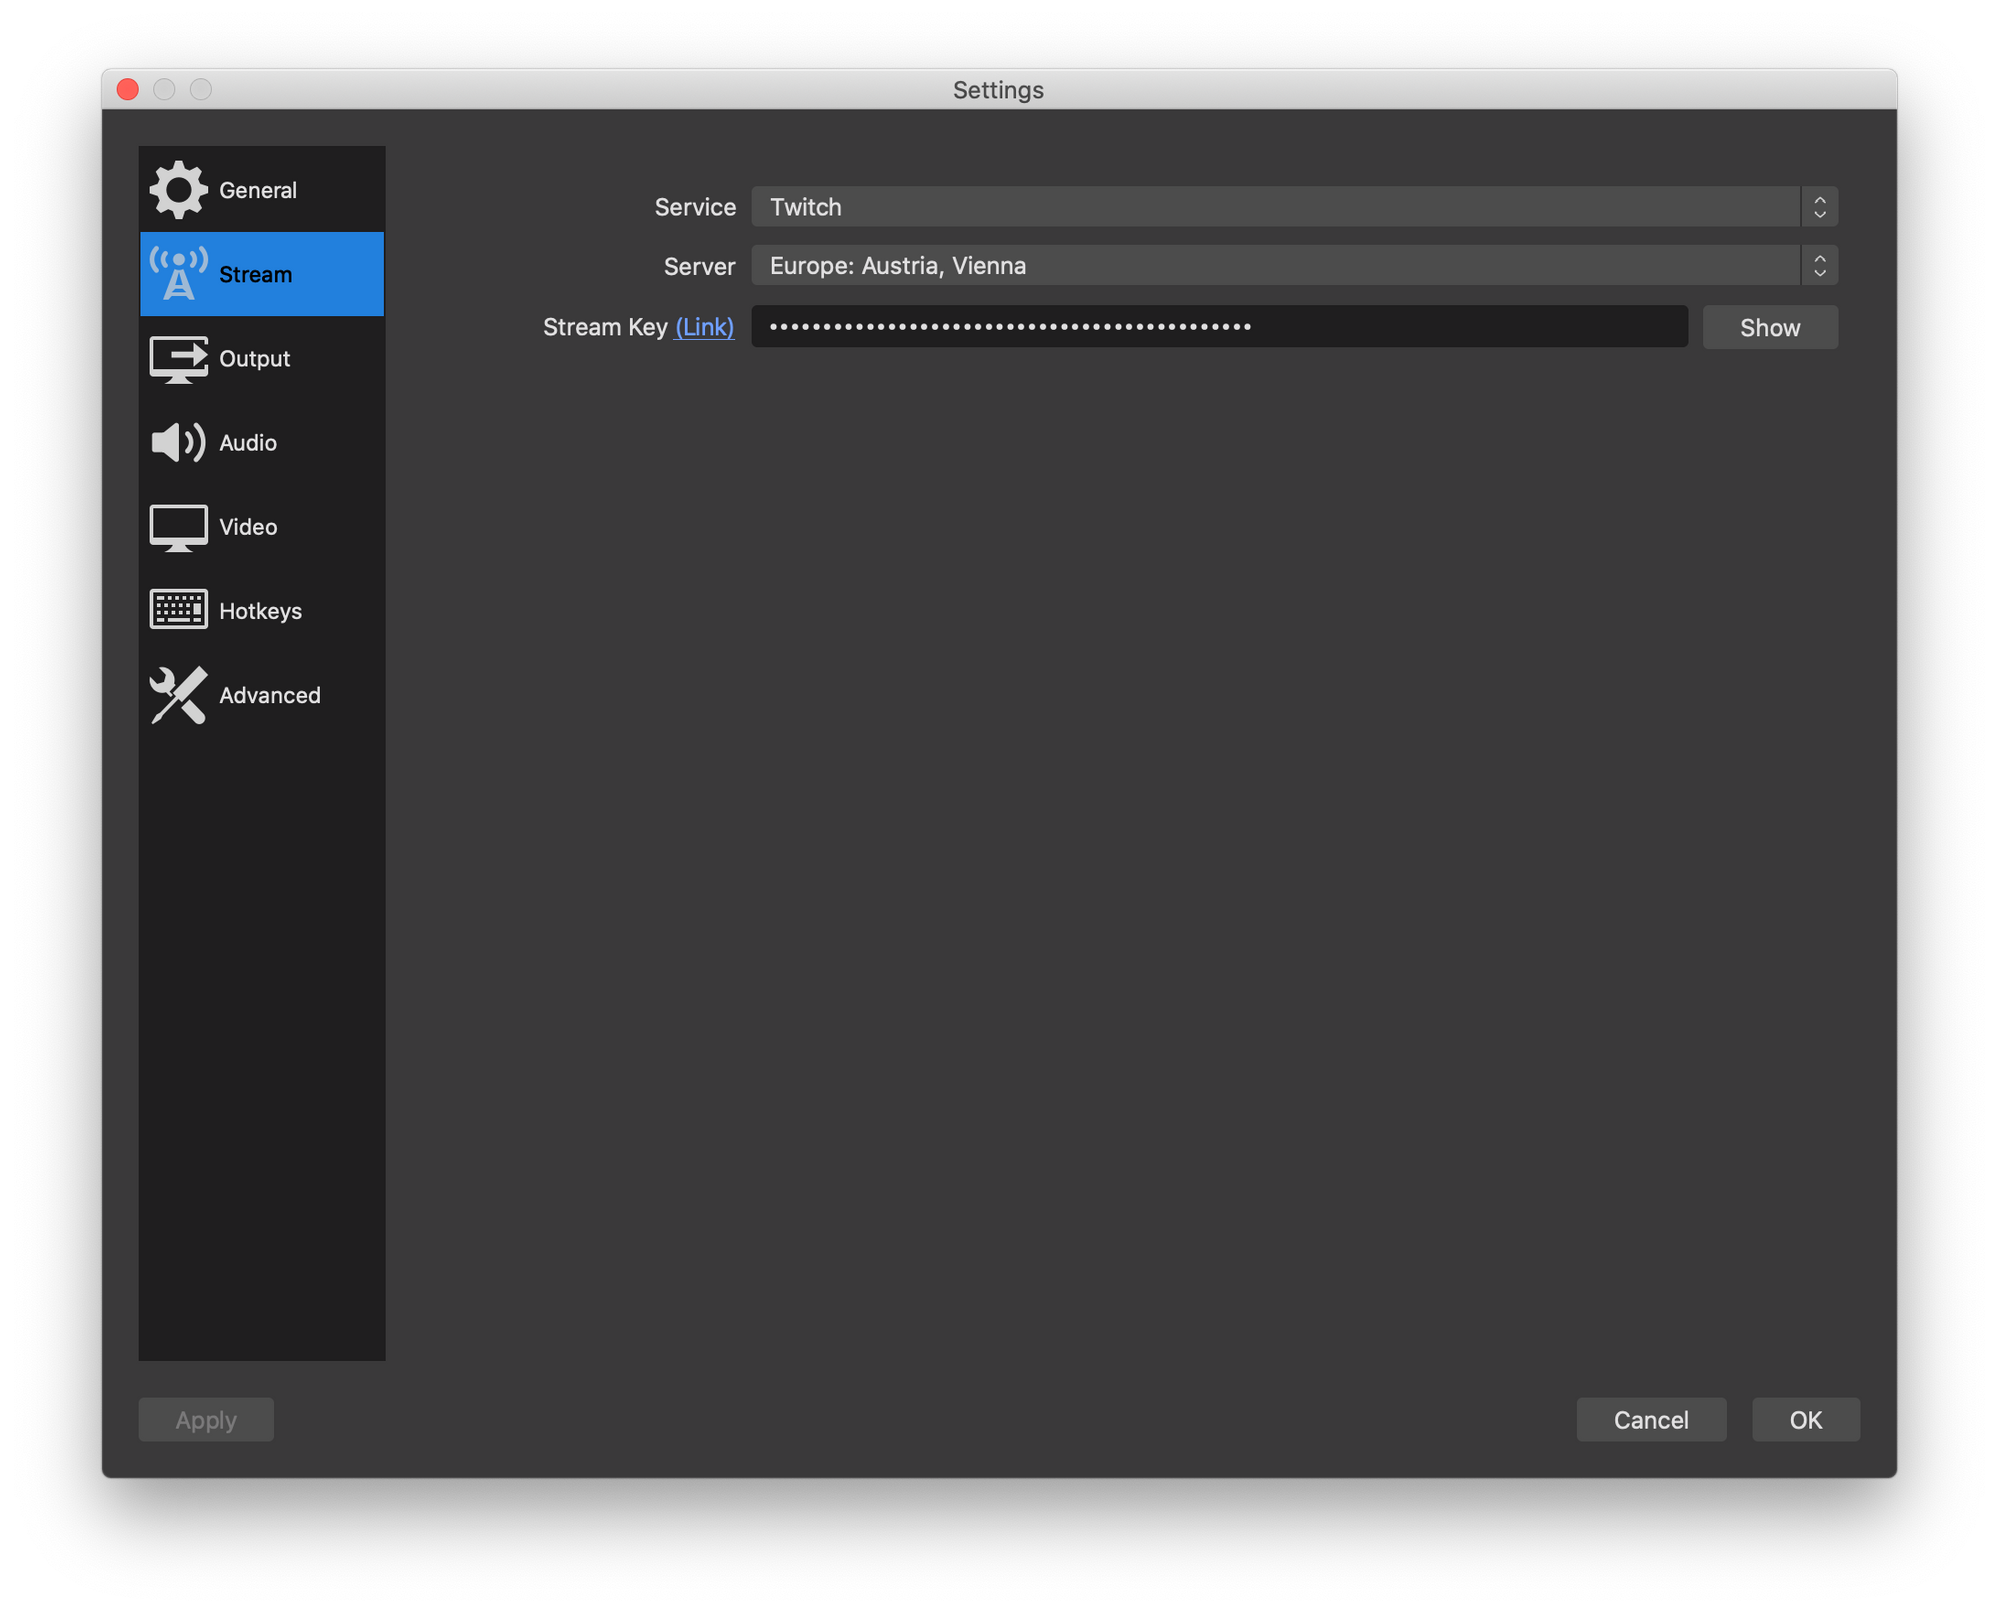
For the former, you’ll just need the login information for your Twitch account. For the latter, you should head over to Twitch, go to Settings > Channel and Videos, and copy the primary stream key you see there. Paste it into OBS, and you’re done.
4. Add all the audio/video sources and visuals you plan to use.
Everything you want to broadcast in your stream needs to be added as a source in OBS. Your microphone is a source, and the game you want to play is one too, as is the feed from your webcam and whatever’s on your desktop. If you want to show it, you have to add it as a source.
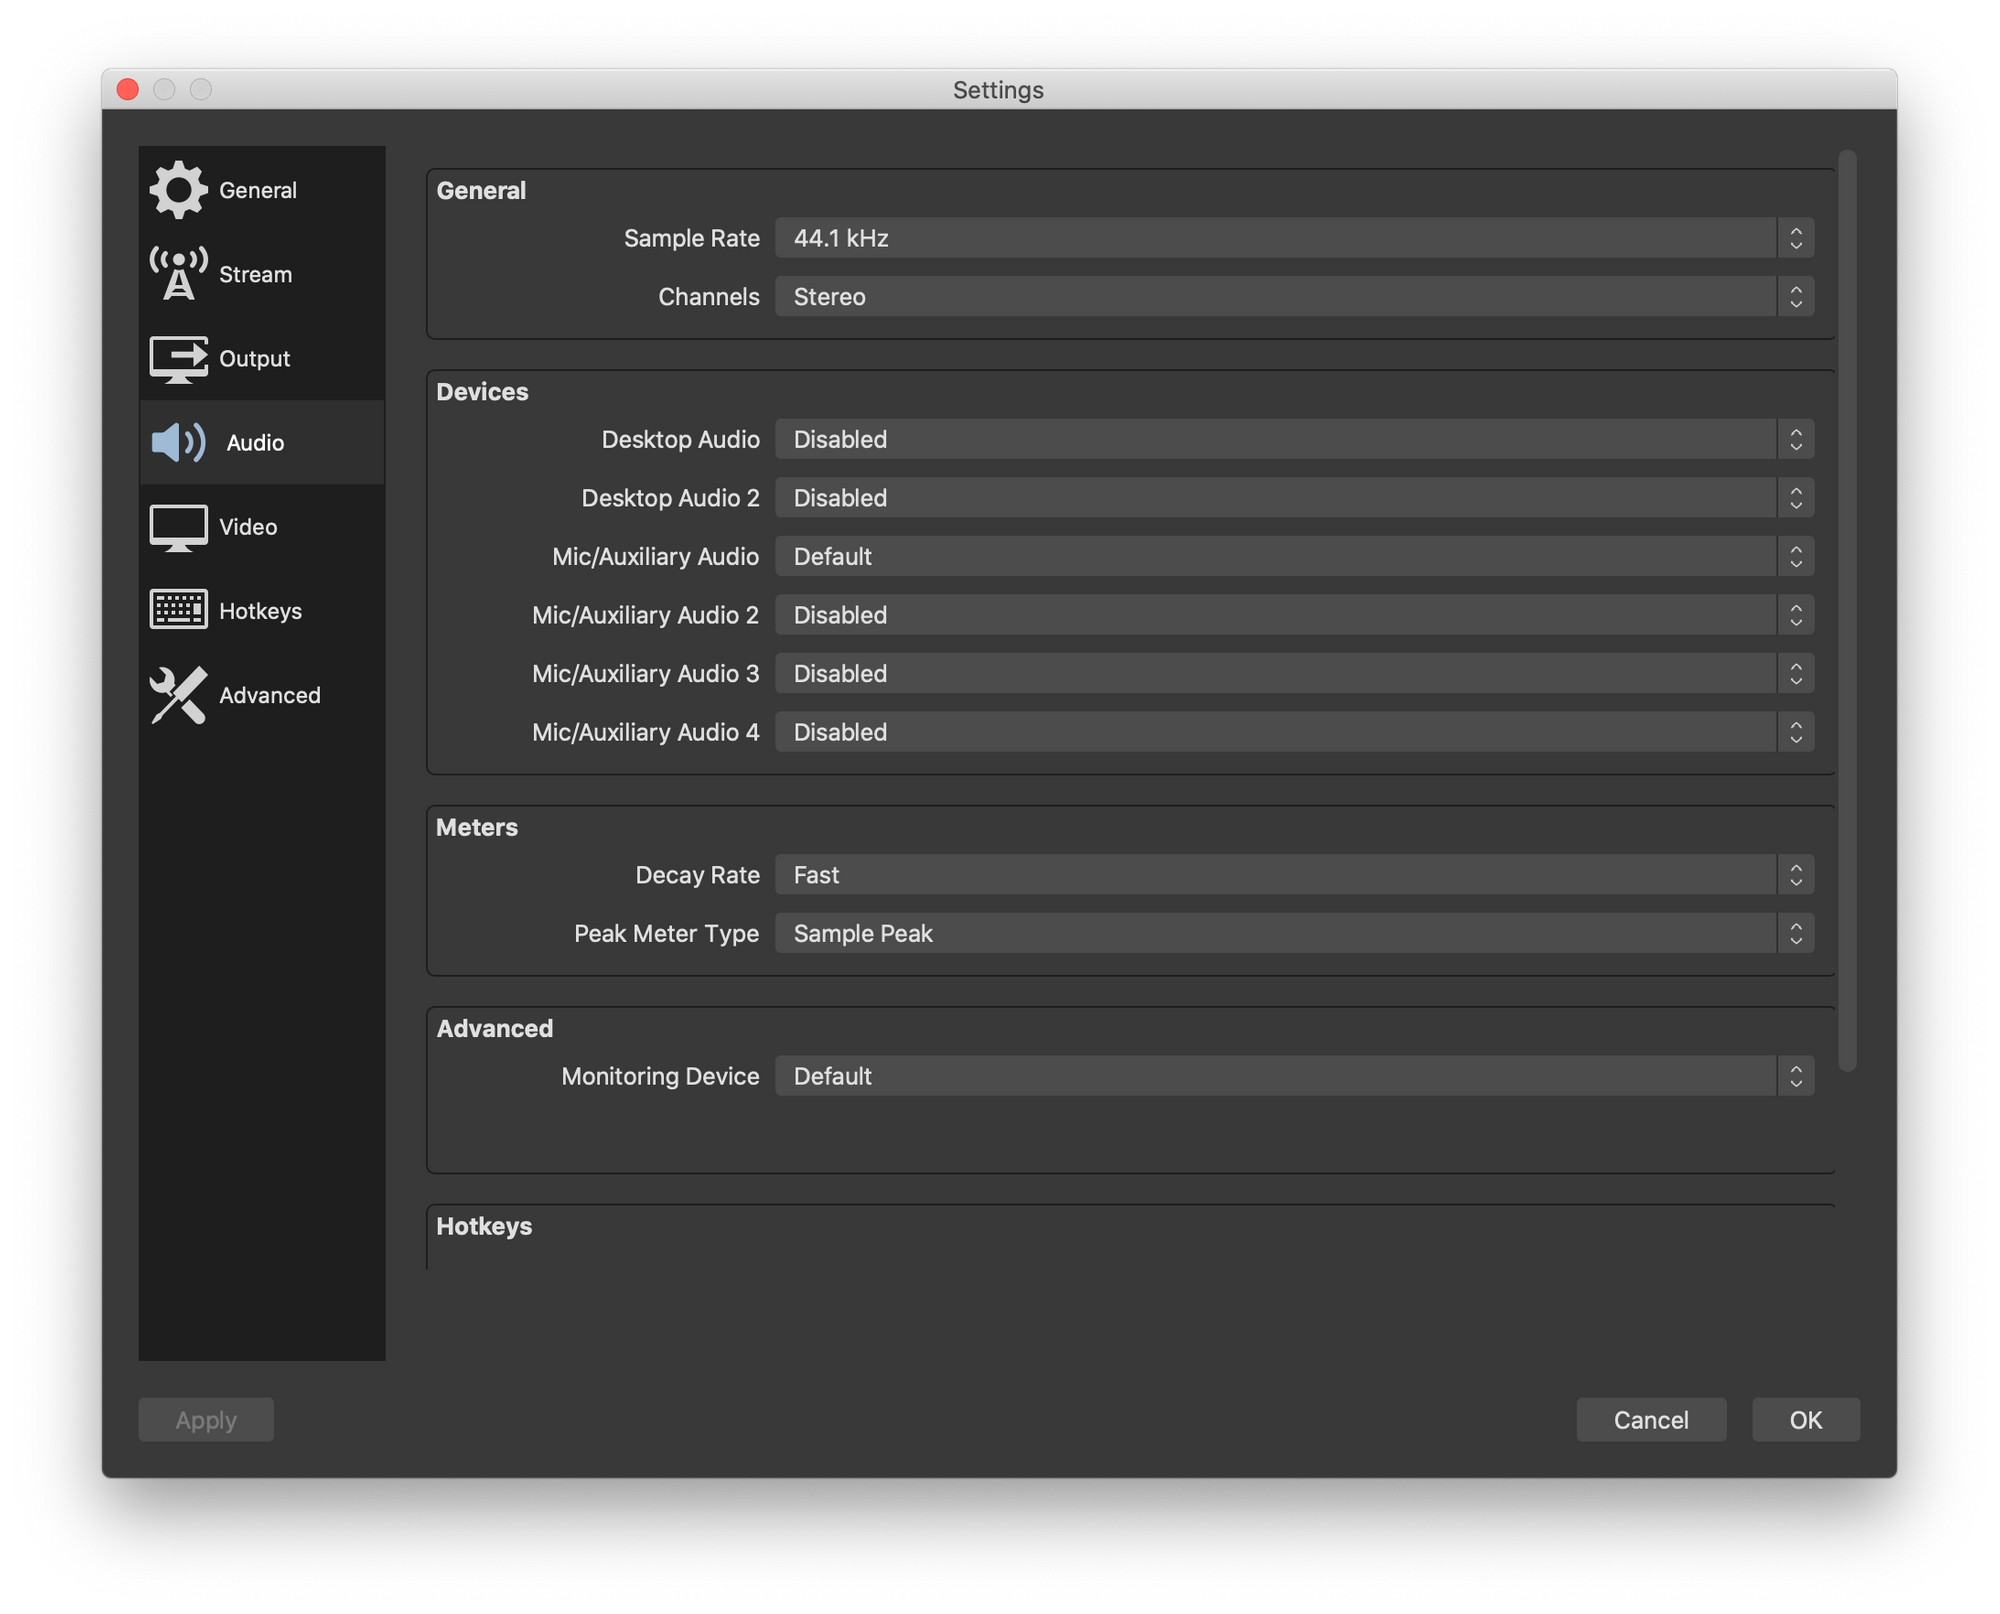
The great thing about OBS Studio is that most of the time it will recognize your audio sources. If it doesn’t, you can go to File > Settings > Audio and find the devices you want to use for audio. Usually, this means having a device for desktop sounds (sounds you’re playing on the computer) and a device for the sounds that come from your microphone.
As far as video sources go, you’ll see the “sources” field in OBS Studio’s main panel. By clicking on the “+” button, you’ll open a menu that lets you add a variety of sources, including games, your desktop, web pages, images, and text files. Keep in mind, though, that the sources appear on the screen just as they appear in the “sources” box, on top of one another. Moving a source up on the list will make it visible on top of other sources.
5. Find the streaming settings that work for you.
The streaming settings you’ll want for Twitch will greatly depend on the available upload bandwidth, the power of your encoder, and the type of content you want to broadcast. Higher bandwidth, a powerful processor, and being able to dedicate it to encoding only all translate into higher-quality settings.
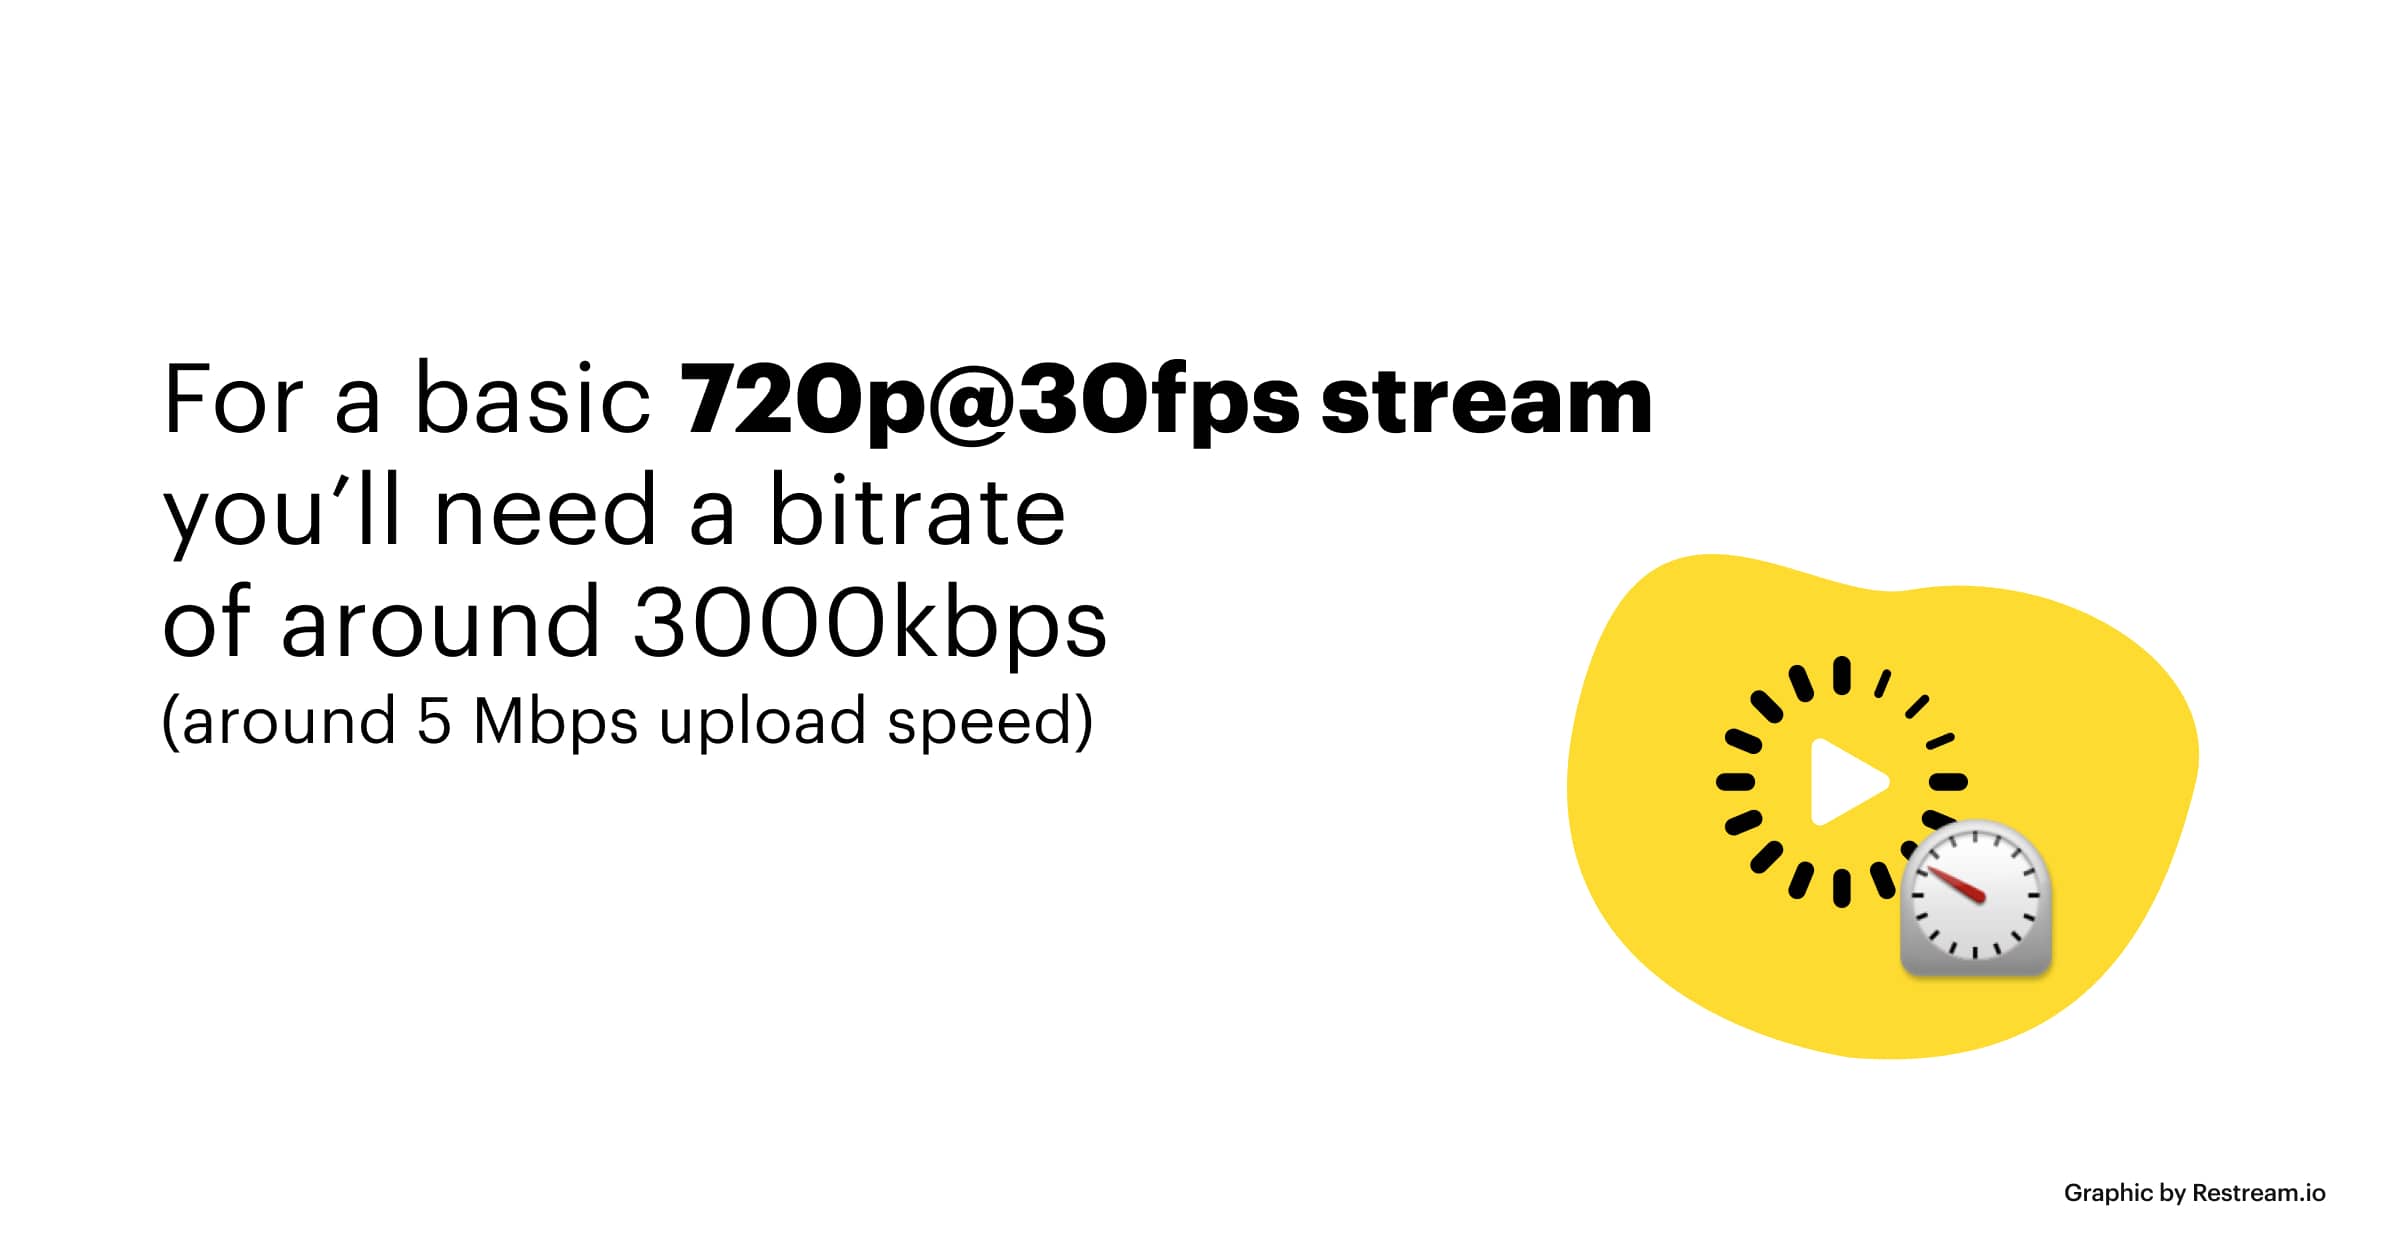
If you’re looking for hard numbers, Twitch’s own guide would be a good place to start. There, you’ll learn that for a basic 720p@30fps stream, you’ll need a bitrate of around 3000 kbps. If you look up a list of good upload speeds for streaming, you’ll see that this translates to around 5 Mbps upload speed.
Remember, however, that this is the simplest way to approach setting up your OBS Studio for the first stream. It will surely get you through it, but you still might want to look at a more in-depth guide when the time comes for you to take things up a notch.
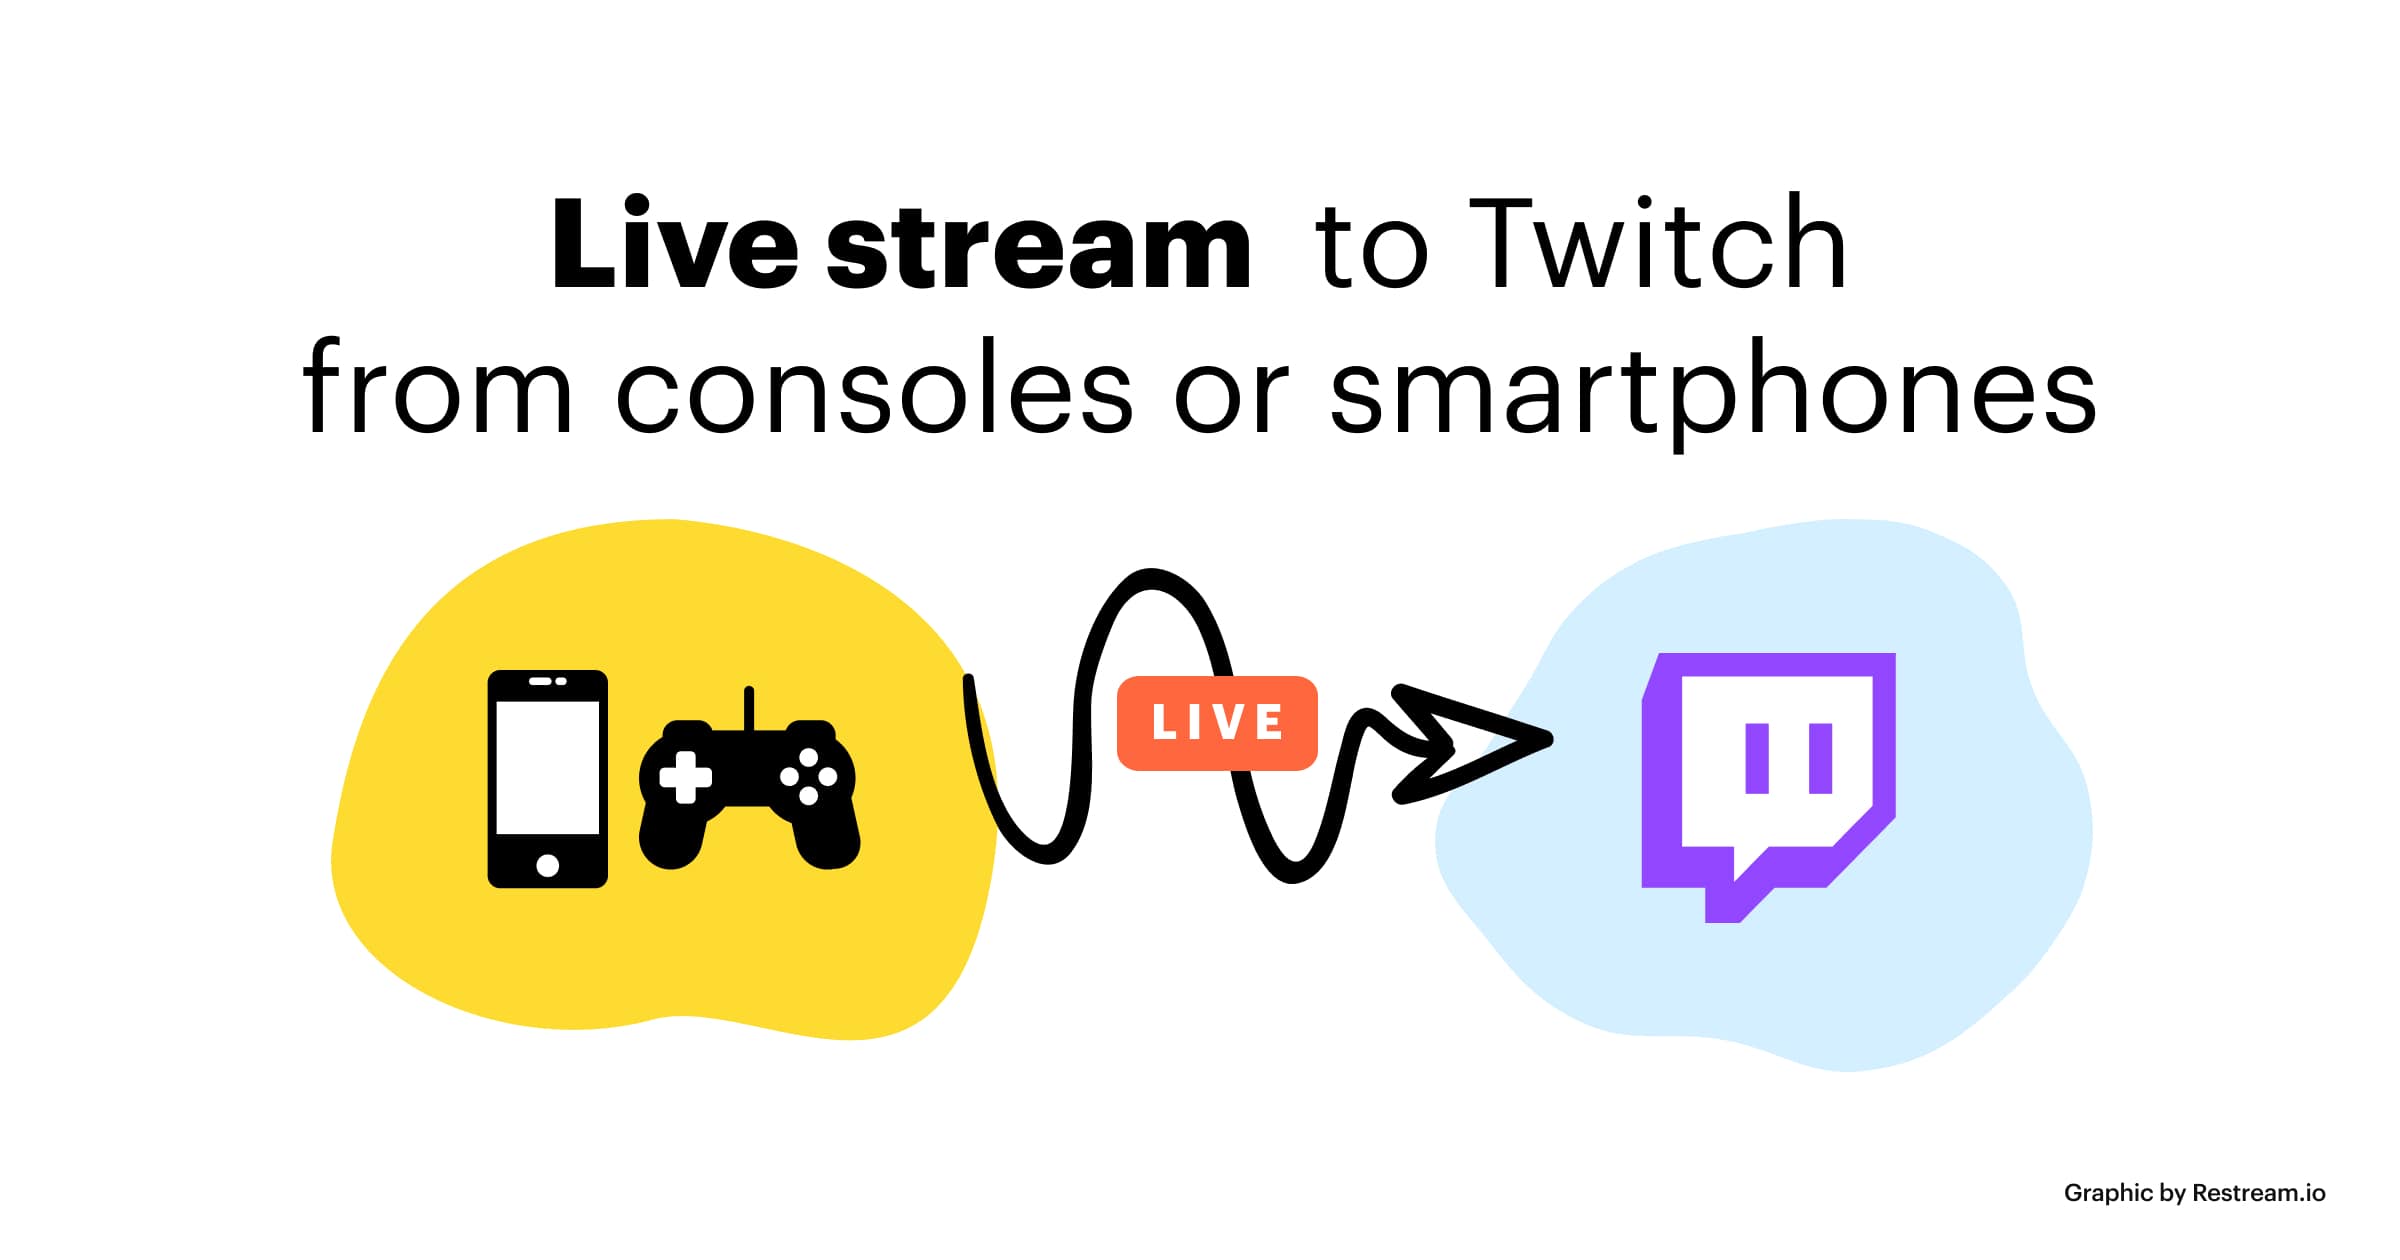
How to live stream to Twitch from consoles or smartphones
Live streaming on Twitch from a PC might not be the perfect option for you. Maybe you prefer playing your games on consoles. Many people do. Maybe you like watching live broadcasts on consoles — a lot of people are doing this, too — and you see no justification for having separate devices for streaming and watching. Or it just might be that you don’t want to go through the clunky process of setting up a gaming PC when there’s a perfectly good console you can use for gaming and streaming.
For one reason or another, console users are probably familiar with Twitch and streaming. The fact that Death Stranding and Days Gone, two console games, made it into the top ten new games in 2019 by hours watched clearly shows it.

How to stream to Twitch from a PS4
If you’re willing to join the less crowded space of Twitch console streaming, here’s how to set up your consoles after you’ve created a Twitch account and enabled 2FA. We’ll start with the PlayStation 4.
1. Set up your PS4 for live streaming.
There are a couple of settings you should pay attention to before you turn on your game and connect the console to your Twitch account. What you really want to do is:
- Ensure HDCP is disabled. You’ll find this option under Settings > System. You’ll need to turn it on when watching content from services such as Netflix on your PS4. When streaming, it should be off.
- Set up your devices. In Settings > Devices you can find options for audio devices as well as the PlayStation Camera. This is where you can adjust levels for your microphone or headset. PlayStation 4 doesn’t support any webcams other than the PlayStation Camera.
- Set up audio sharing. When you launch the game, press the “share” button on the controller and go to Sharing and Broadcast Settings > Broadcast Settings > Advanced Settings > Audio Sharing Settings. This is where you enable the sound from your microphone to be broadcast.
- Enable the chat. In the Sharing and Broadcast Settings > Broadcast Settings > Advanced Settings, you can check the “Display Messages to Spectators and Spectators’ Comments” to enable the chat.
2. Connect your PS4 to the Twitch account.
When you click the “share” button on your controller, you’ll see the option to broadcast gameplay. PS4 will ask which platform you want to use, and after selecting Twitch, you’ll need to connect the console to the account. You can do so by:
- Scanning a QR code you’ll see on your screen, or
- Going to twitch.tv/activate from a computer or smartphone and entering the code you’ll see on your screen.
3. Do a final check and start streaming.
After you’ve connected the console to Twitch, you’ll be able to pick a title for the stream, enable the camera if you have it connected, and select the output quality. When you’re done with that, you’ll be ready to start broadcasting to Twitch from your PS4.
It’s an easy process; you don’t even need to install the Twitch app to do it, although you will need it if you want to watch other people’s streams on a PS4.

How to stream to Twitch from Xbox
Xbox, on the other hand, doesn’t come with native Twitch support. The device is developed by Microsoft, the company that also owns one of Twitch’s biggest competitors, Mixer. So if you want to stream to Twitch from an Xbox, your journey begins in the Xbox store.
1. Install the Twitch app.
Head on over to the store on your Xbox, search for the official Twitch app, and install it.
2. Connect the Twitch app to your account.
The principle is almost the same as with the PS4: after running the app for the first time, you’ll get a six-digit code you’ll have to enter manually at twitch.tv/activate. You’ll need a desktop computer or a smartphone to visit that address.
3. Connect and set up your devices.
You can use any regular webcam with an Xbox One, and you can also use external microphones and headsets. Connect everything to your Xbox, and make sure the microphone and webcam are enabled in the settings. You’ll also want to fine-tune some other settings, so head over to Settings > Account > Privacy and Online Safety > Xbox Live Privacy > View Details and Customize, and then:
- Go to Game Content and allow the “You can broadcast gameplay” and “You can share content made using Kinect or another camera” options.
- In Online Status and History, select “Everybody” under “Others can see if you’re online.”
4. Create a title and start broadcasting.
After you’ve set the title for your stream, you’ll be ready to launch a game and begin broadcasting.

How to stream to Twitch from a smartphone
While consoles are pretty much focused on streaming gaming content, smartphones are usually useful for everything but. This is because Twitch’s smartphone app only lets you broadcast from your phone’s camera. If you want to cast mobile gaming, you’ll have to mess with third-party apps. Here’s how you live stream to Twitch from your smartphone.
1. Download and install the Twitch app.
First things first — you need to have the app installed on your smartphone. Head over to the App Store or the Play Store to get it.
2. Log in to the app.
You’ll have to go through the whole two-factor authentication process to log in to the app.
3. Press your profile image button in the upper left-hand corner.
Doing so will bring you to the screen where you’ll notice the “go live” button.
4. Press the “go live” button.
You’ll have to allow access to your camera and/or microphone before you’re able to live stream to Twitch via the app.
5. Set up the stream and go live.
You should take a couple of simple steps before finally going live:
- Give your stream a name.
- Select one of the content categories from the dropdown menu.
- Pick the camera you want to use.
- Share a link to your stream via apps you have on your phone.
With that, all that’s left to do is press the “start stream” button, and you’ll be online.
Live streaming on Twitch isn’t too demanding on a novice. You can go from having some basic gear and general computer literacy to having your content live streamed on Twitch in a matter of minutes. It’s that easy to learn how to stream on Twitch — if your goal is just to live stream.
How to get good at streaming on Twitch
When it comes to Twitch, the elephant in the room is the distribution of hours watched. A very limited number of top streamers, four thousand of them, hold three-quarters of live hours watched. Twitch has around 3.6 million monthly streamers, so the math is obvious — a lot of people aren’t getting that many eyeballs on their content.
You’ll need to put in a bit more effort than just learning how to stream on Twitch if your goal is to find a place among the successful streamers. The best place to start figuring out your success strategy is within the most important aspect: content.
What kind of content should you stream on Twitch?
Gaming content is what originally launched Twitch. For a long time, it was the primary draw of the platform. Even today, people seem to tune in mostly to watch gaming content. The most popular categories, in terms of hours watched, are two game categories: League of Legends and Fortnite.
It’s important to note, however, that third on the list, with over 650 million hours watched and a YoY growth rate of 42%, was the Just Chatting category — one that doesn’t necessarily need to have anything to do with games and gamer culture.
So what does this mean for you? A couple of things, most notably that you don’t have to get stuck producing bad gaming content if there’s something you’re much better at. Here are a few tips that should help you get settled into a nice content category — or a few.
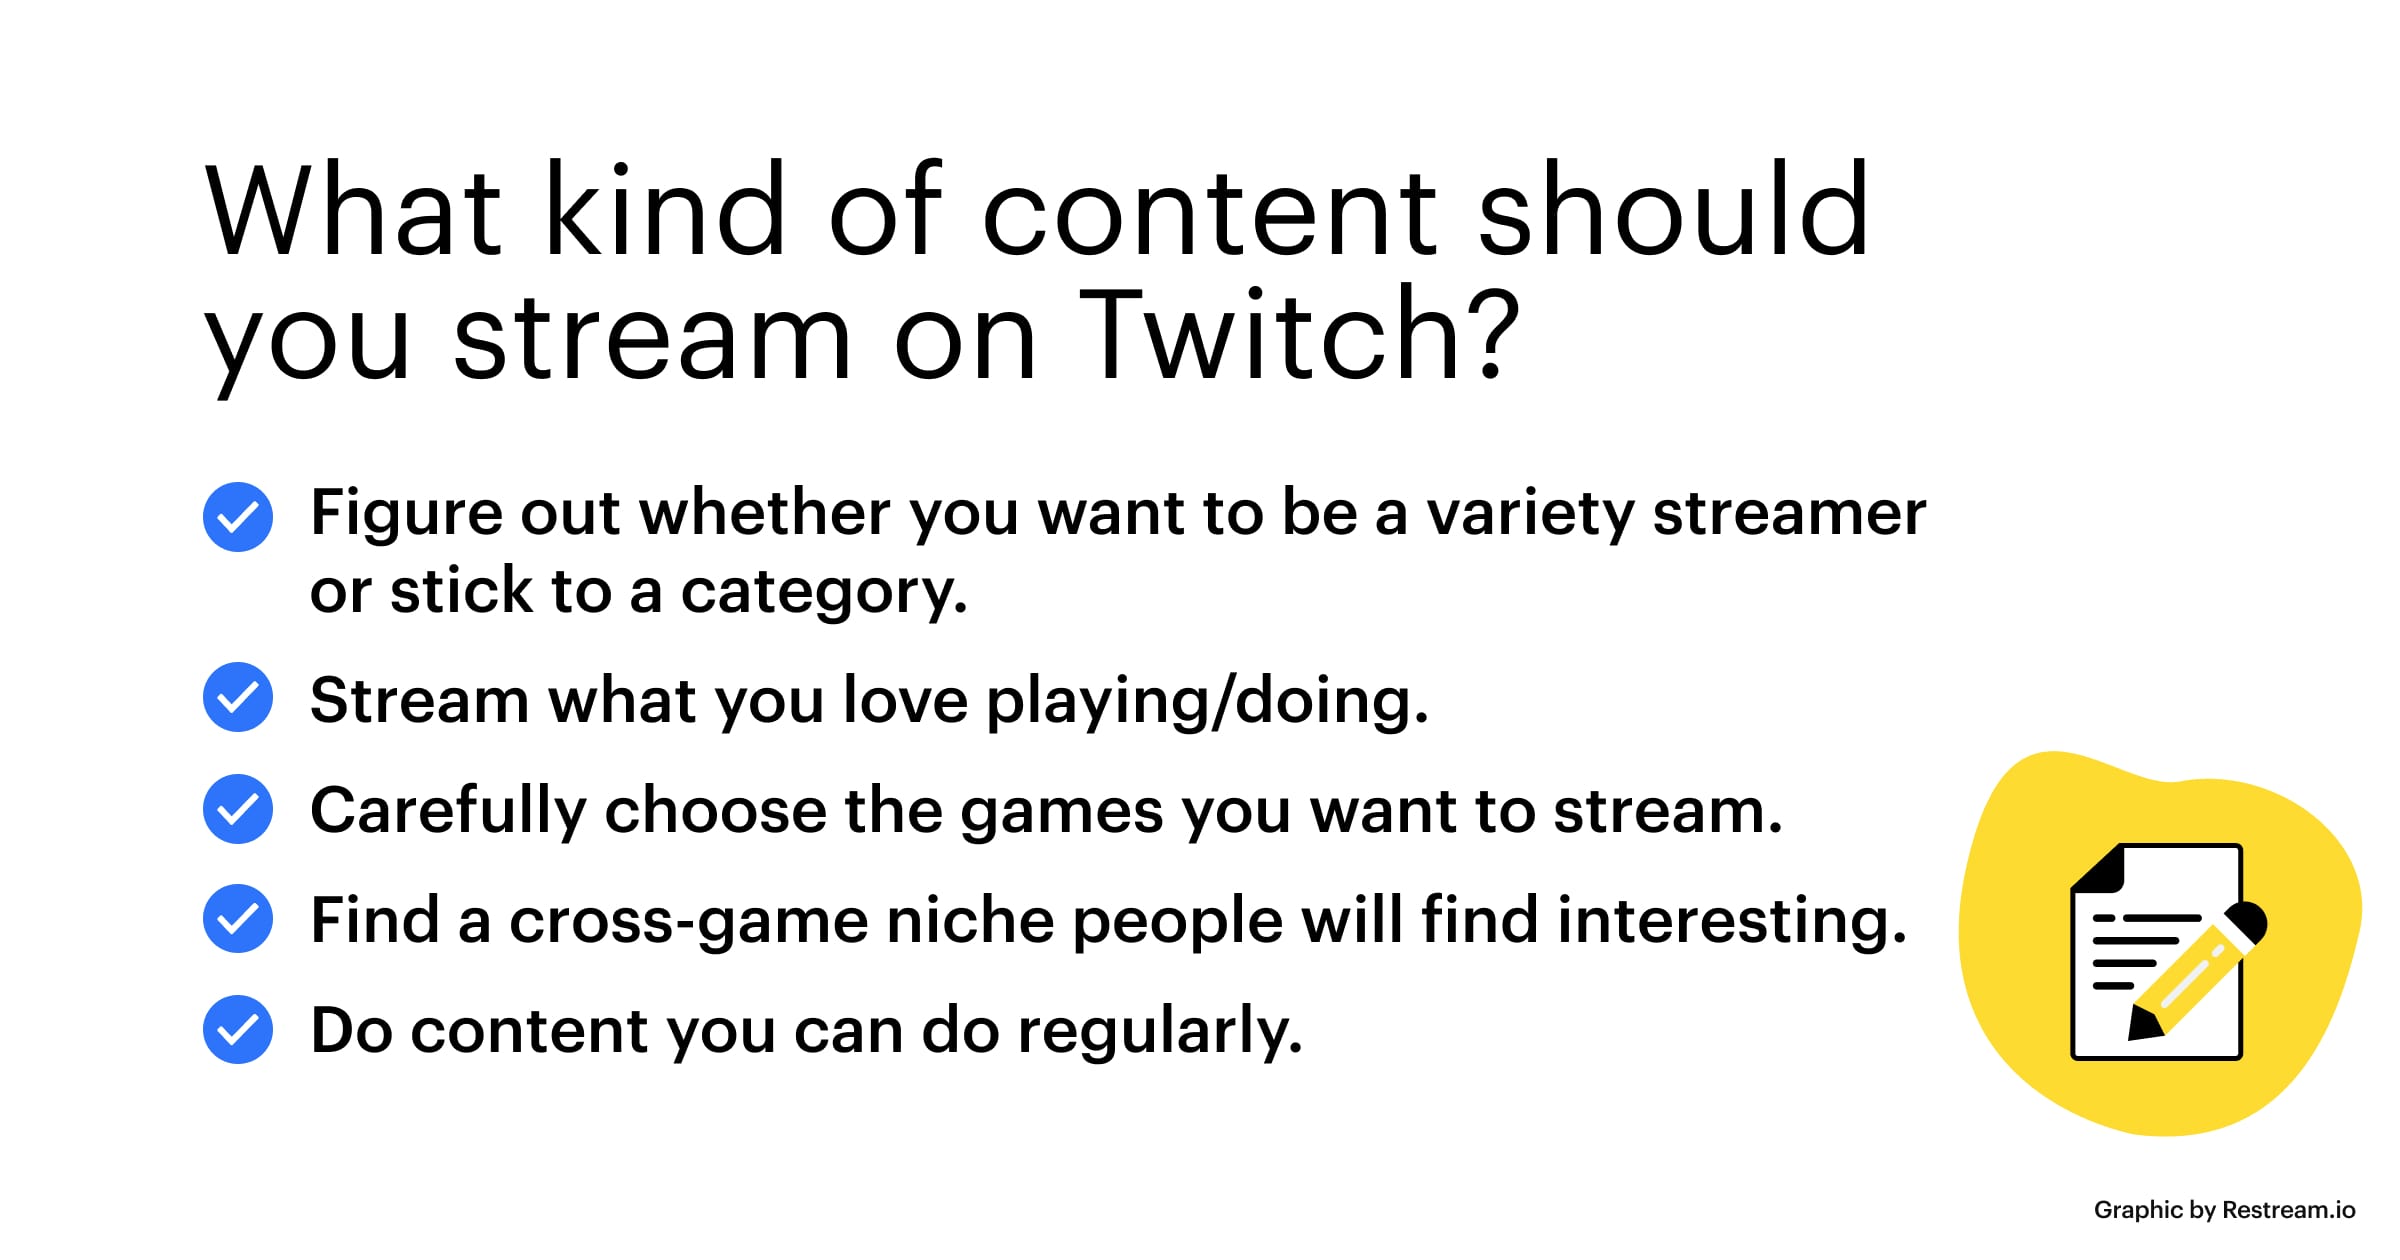
1. Figure out whether you want to be a variety streamer or stick to one category.
Some people will jump between gaming, chats, and streaming on the go as part of a variety content strategy. Others will focus on chatting alone, or creating art, or playing a single game, or playing a genre of games. As a variety streamer, your personality is the major draw. If you’re more of a focused streamer, your knowledge and skills will help you build an audience.
2. Stream what you love.
Chances are that you’ll spend some time streaming to a small audience. Beginnings can be tough, and streaming can sometimes seem like an uphill battle to win over one viewer at a time. The best way to stick with it is by streaming something you actually like doing, whether it’s a hobby of yours or a game you like playing.
3. Carefully choose the games you want to stream.
The most popular games have lots of viewers but also lots of established channels flocking to them. New releases can balloon quickly, as evident in the 2019 success story of Apex Legends. A good trick is to use tools such as Quizzical Pixel’s What to Stream to find games that have good viewership but very few channels streaming them.
4. Consider a cross-game niche people will find interesting.
You don’t have to stick to one category to become a well-respected streamer with a good following. You can be a speedrunner who wants to get through games as quickly as possible. You might be a highly competitive gamer who masters games only to duel people. You might thrive as a community guru who figures out game mechanics and helps others become great at games.
5. Select content you can generate regularly.
Because consistency is key when it comes to streaming, the best way to do it is to try to stick to a schedule as much as possible. If the content you want to create doesn’t let you stream regularly, it’s best to avoid streaming that type of content. That is, of course, if you don’t plan to add some other type of content to your portfolio that can fill in the gaps.
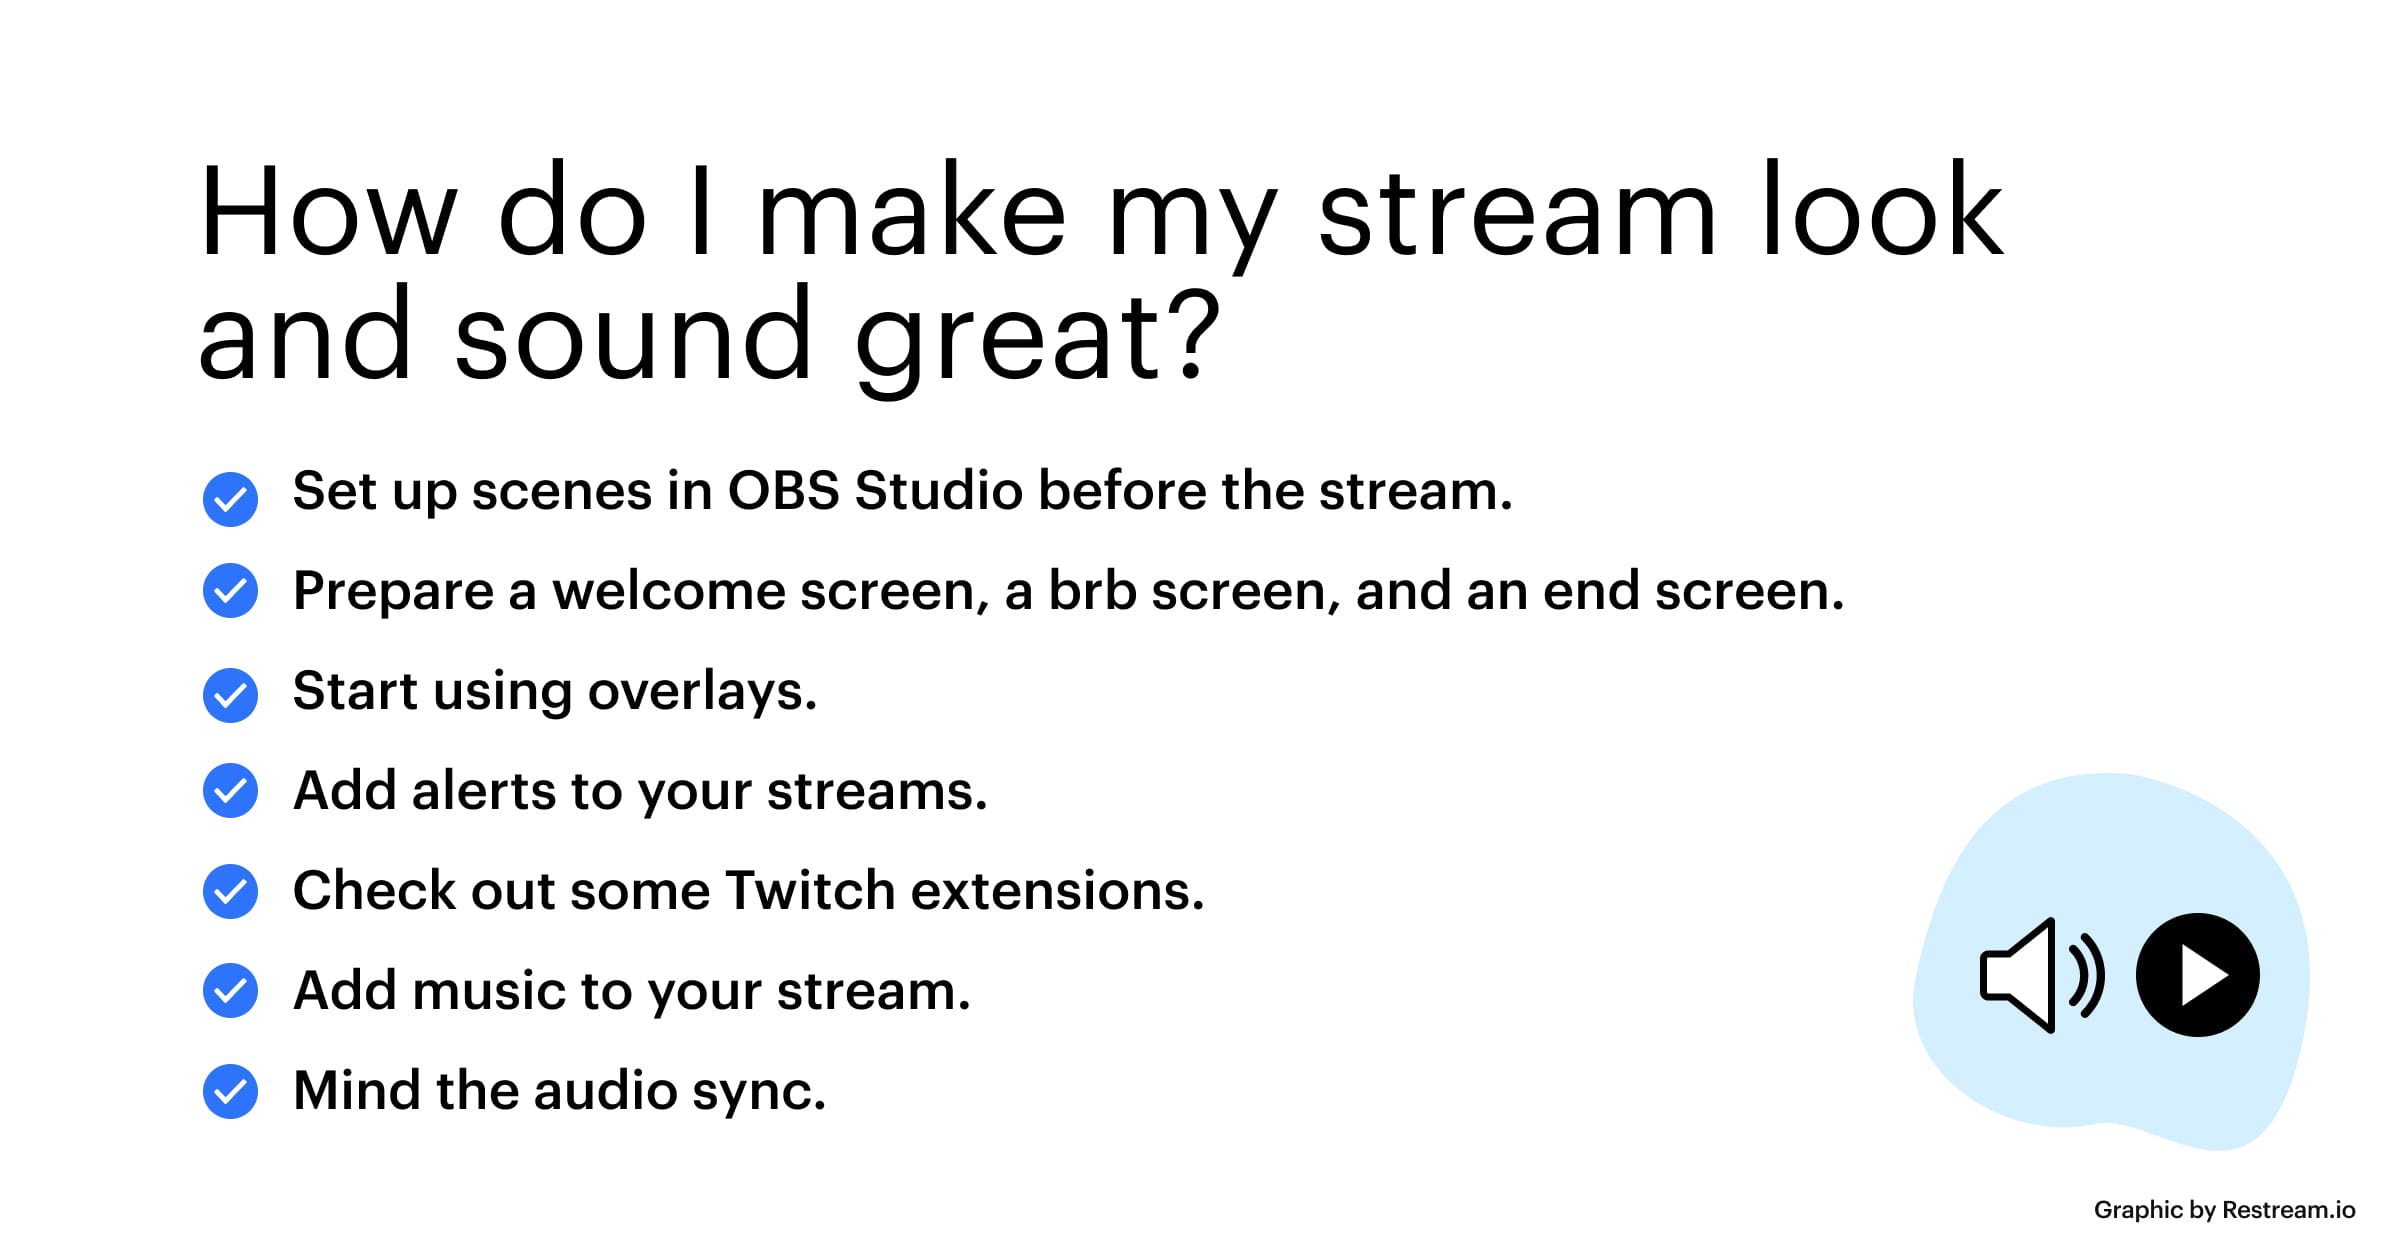
How do I make my stream look and sound great?
Your gear and your upload speed play a crucial role in the quality of your stream, but they’re not all that matters. Content affects quality, too, albeit in a different way. There are some other effects you can add to your stream, as well as special settings you can pay attention to, that can make a lot of difference.
If you want your stream to look and sound like those of some of the most popular streamers, you should consider the following:
- Set up scenes in OBS Studio before the stream. Scenes are different layouts of content you want to appear on the screen, and they’re key for running the stream smoothly.
- Prepare a welcome screen, a brb screen, and an end screen. These can be static images that let people know you’re starting to stream soon, that you had to step away from the stream, or that the stream has finished.
- Start using overlays. Overlays can help you customize the look of your stream. There are free, premium, and custom-made overlays available.
- Add alerts to your streams. Alerts are audio-visual packages triggered by specific actions, such as someone subscribing to your channel. They are provided by third-party services such as StreamLabs, Muxy, and StreamElements.
- Check out some Twitch extensions. These are basically apps that can interact with your stream and, for example, provide real-time stats about your game performance. You can also use them to let your viewers play minigames.
- Add music to your stream. You’d be surprised by how empty a stream can sound without music. While some people get away with streaming any music while they’re live and have their VoD muted if they play copyrighted music, you can stay on the safe side by using streaming-friendly music services such as Pretzel.
- Mind the audio sync. Having issues with audio sync is pretty common if you’re streaming on Twitch. Deal with it in OBS Studio by using the Audio Sync Offset setting you can find in the Audio Mixer settings.
If you’re looking to add some power to your streaming setup to make it better at handling whatever game you want to throw at it, adding a dedicated streaming PC is a great way to do it. If you’re running a two-PC setup, you’ll want the one with more processing power to handle the streaming. And you’ll need a capture card.
Capture cards come in internal and external variants. The internal cards must be physically installed onto the streaming computer’s motherboard and then connected with the gaming PC via HDMI. The external cards connect via USB to the streaming computer on one end and via HDMI to the gaming computer on the other end. After that, you only have to add the capture card as a source in OBS.
If you’re using a PC-console setup, the main difference is that the capture card sits in between the console and the TV or computer monitor. Use the “in” HDMI port to plug the console into the card and the “out” HDMI port to connect the card with the display or TV. Again, simply add the card in OBS Studio as a source, and you’re set to go.
What are the rules of Twitch etiquette that will help me engage the audience?
Just like any other place where people tend to gather, Twitch has its own list of dos and don’ts. Some of them are codified by Twitch in the community guidelines, and yes, now’s the time to read them if you skipped them at the beginning of the article.
But there are also the practices that might boost your engagement and generally help everyone watching your stream — as well as you as a streamer — have a good time. This is the Twitch etiquette, and the most important rules you should observe include:
- Say “hello” to viewers who frequent your channel. This will show them your appreciation, and it will give other viewers something to work towards.
- Stick to your streaming schedule. Don’t leave your viewers hanging, and try not to surprise them with impromptu streams too often. People have lives.
- Use social media. You should work on establishing a social media presence to further engage with your audience and look out for business opportunities.
- Network with other streamers. You’re not doing this in a vacuum, so play games with other streamers or co-stream with them occasionally.
- Say “thank you” to people who support you. Neglecting this is one of the worst ways to treat the people who back you financially.
- Don’t go to other people’s streams to promote yourself in the chat room. This is beyond bad behavior, and it’s likely to get your efforts blocked by mods.
- Recruit mods. Moderators can make all the difference in keeping your stream’s chat clean and friendly.
You want your channel to be a fun place where people can hang out and enjoy the show. As a streamer, you should be welcoming. You should take your viewers’ time and attention seriously and pay them back by being the best content creator you can be. Never skip an opportunity to engage with your audience, whether it’s by saying “hello” to them when they join or creating content that appeals specifically to your audience.
Twitch and Multistreaming
When you’re just starting out your live streaming career, sticking to a single platform can seem like you’re putting all your eggs into one basket. And it kind of is — there are other platforms out there, and you might want to broadcast to them, too. That’s exactly what Restream is for.
Restream is a service that allows you to multistream, or stream simultaneously to several channels. It has all sorts of convenient tools that can help with everything from relaying chats between different platforms to broadcasting pre-recorded content.

If you want to multistream to Twitch and other platforms, you can — but only up to a point. Once you become a Twitch Affiliate, which allows you to start earning revenue from your streams on Twitch, your content will be subject to a 24-hour exclusivity clause. This means that your content will be exclusive to Twitch while you’re streaming it and for 24 hours after.
At this point, you can still use Restream to broadcast your now VoD content to other platforms and enjoy the analytics and chat features it offers. But you’ll have to decide to either go Twitch-first or keep all your cards open and multistream for a while.
Let’s wrap it up!
Live streaming can be an incredibly rewarding experience. If you’re able to create streamable content from something you like doing, you can benefit from starting to stream. Whether it’s by making new friends, finding new business opportunities, or simply exercising your performance skills, streaming can only do you good.
As far as places where you can broadcast entertaining content go, Twitch is an obvious top choice. It’s the leading platform that’s successfully opening its doors to all kinds of content, from gaming to ASMR and full-body makeup tutorials. The platform is so popular and huge in the market that learning how to stream to Twitch is almost a rite of passage for future content creators.
However, Twitch is not the only platform out there. Much of the advice you should follow when streaming to Twitch also applies to other platforms. By learning how to be a successful streamer on Twitch, you’ll learn a thing or two that might help you thrive on other platforms, too. If you’re looking for a way to spread your content across several platforms, Restream is the tool you should be using.